This marshmallow whipped cream frosting is my number one go-to frosting recipe for cupcakes!
It’s super fast, whipping up in just 5-10 minutes. And even though it uses marshmallow whip, this frosting is still not overly sweet.
I love whipped cream frosting because it’s super light and fluffy and it’s sweet without being cloying. The only issue is that whipped cream frosting easily melts, and it’s difficult to use for decorations as a result.
That’s why I use this recipe to make stabilized whipped cream with marshmallow fluff! By adding the marshmallow fluff, you help prevent the whipped cream from getting too melty but you keep the light and fluffy feel.
If you are looking for a light and fluffy whipped cream frosting that won’t melt or run, you need this marshmallow creme frosting recipe!
Grab your marshmallow fluff and let’s whip some up together!
Ingredients
You will only need four ingredients to make this super tasty marshmallow fluff whipped cream.
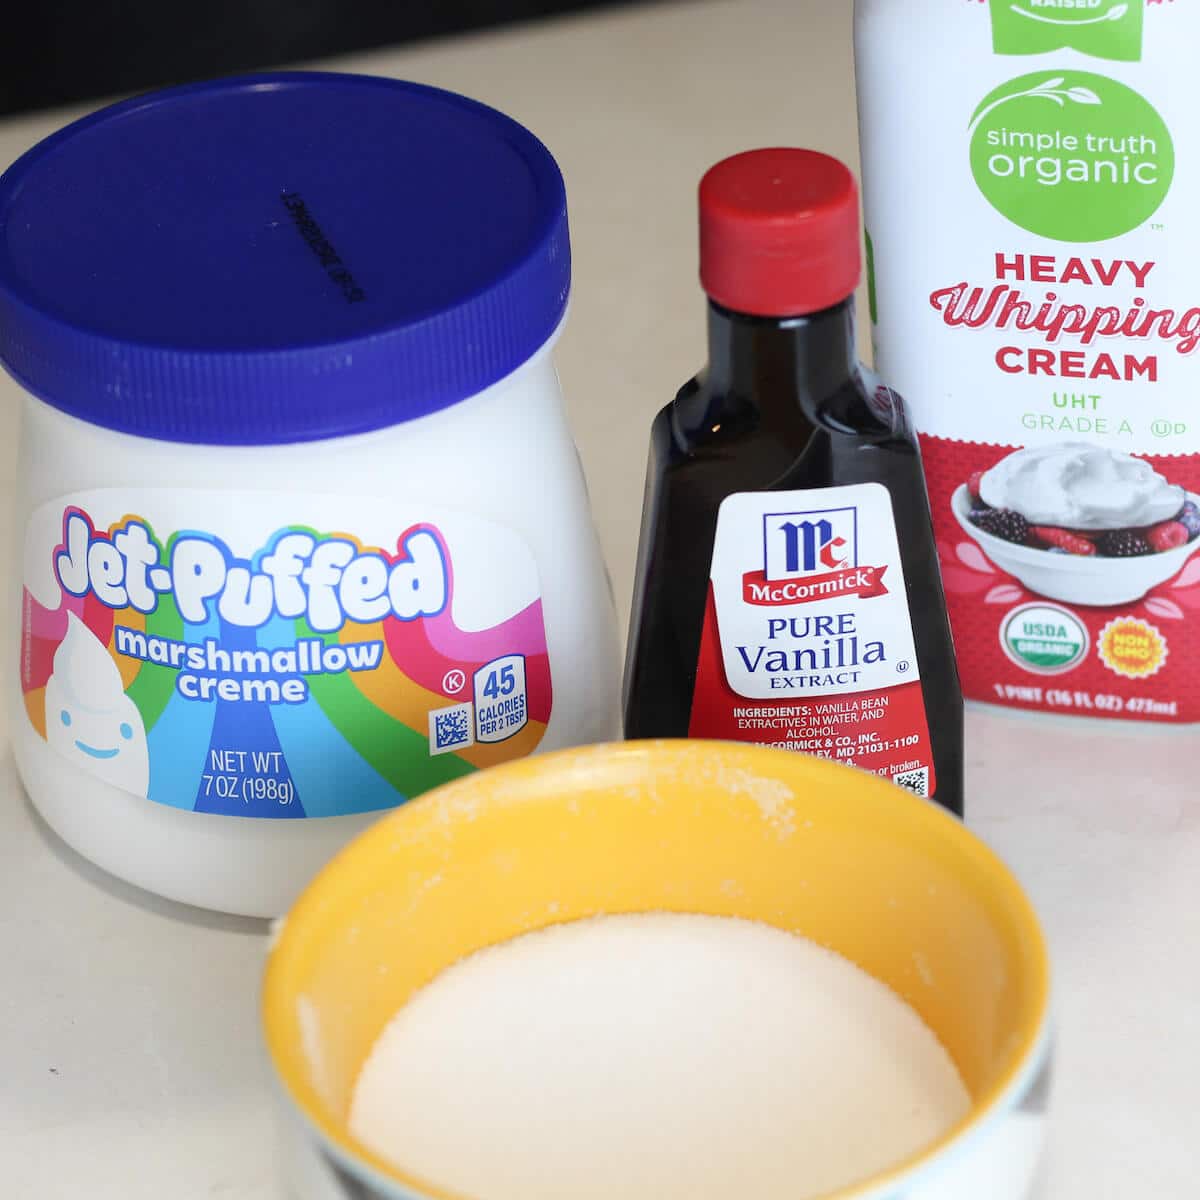
To make my favorite marshmallow frosting recipe, you’ll need:
- Marshmallow fluff: Marshmallow fluff not only provides the main flavor, but also adds stabilization. Some ingredients in marshmallow fluff, like xantham gum and cream of tartar, set the whipped cream up so it will last a few days without getting runny.
- Heavy whipping cream: To make whipped cream you need, well, whipping cream! You cannot substitute this for milk or half and half, it must be whipping cream. Important: make sure the whipping cream is super cold before whipping.
- Vanilla: This adds extra vanilla flavor, but it’s technically optional.
- Salt: A pinch of salt will not make your frosting taste salty. Instead, a tiny pinch of salt will help make the flavor appear “brighter” and slightly mellows out the sweetness of the marshmallow.
And that’s it! You don’t need extra sugar, and you can make the whole recipe without butter. It really is that simple!
How to Make
If you have a stand mixer or hand mixer, you can easily make this marshmallow fluff frosting in just 5 minutes!
The secret to success is all in the set up. Do not skip the beginning steps or your whipped cream won’t quite set up and you’ll be left with a goopy mess (it will still taste good though).
So long as you take care to set up correctly, the rest will come easily!
Here’s how to make whipped cream with marshmallow in just three steps:
- Get the temperature right: temperature is extremely important! Do not skip this!
- Your bowl and the whisk attachment for your stand mixer (or the beaters for your hand mixer) should be cold. Chill them in the fridge for at least 30 minutes before starting.
- Your whipping cream should be cold, too! Keep the whipping cream in the fridge until the last second before adding it to the bowl.
- The marshmallow fluff shoul be room temperature. This helps it incorporate more easily into the frosting and helps you avoid chunks of marshmallow (as delicious as that would be, it would be a nightmare for decorating or spreading).
- Set up your tools:
- If using a stand mixer, place the bowl in the mixer and attach the whisk attachment.
- If using a hand mixer, attach the beaters to the hand mixer and plug in. Set up your bowl nearby on a clear space on your counter.
- Place all four ingredients in the chilled bowl: marshmallow fluff, salt, vanilla, and cold whipping cream.
- Beat on high for 3-5 minutes, until the whipped cream forms stiff peaks. This means if you scoop up a bit of the whipped cream on a spoon or whisk, the tips of the whipped cream would stand straight up without curling.
Then you’re ready to enjoy your sweet and marshmallow-y frosting! It really is that easy!
How to Use
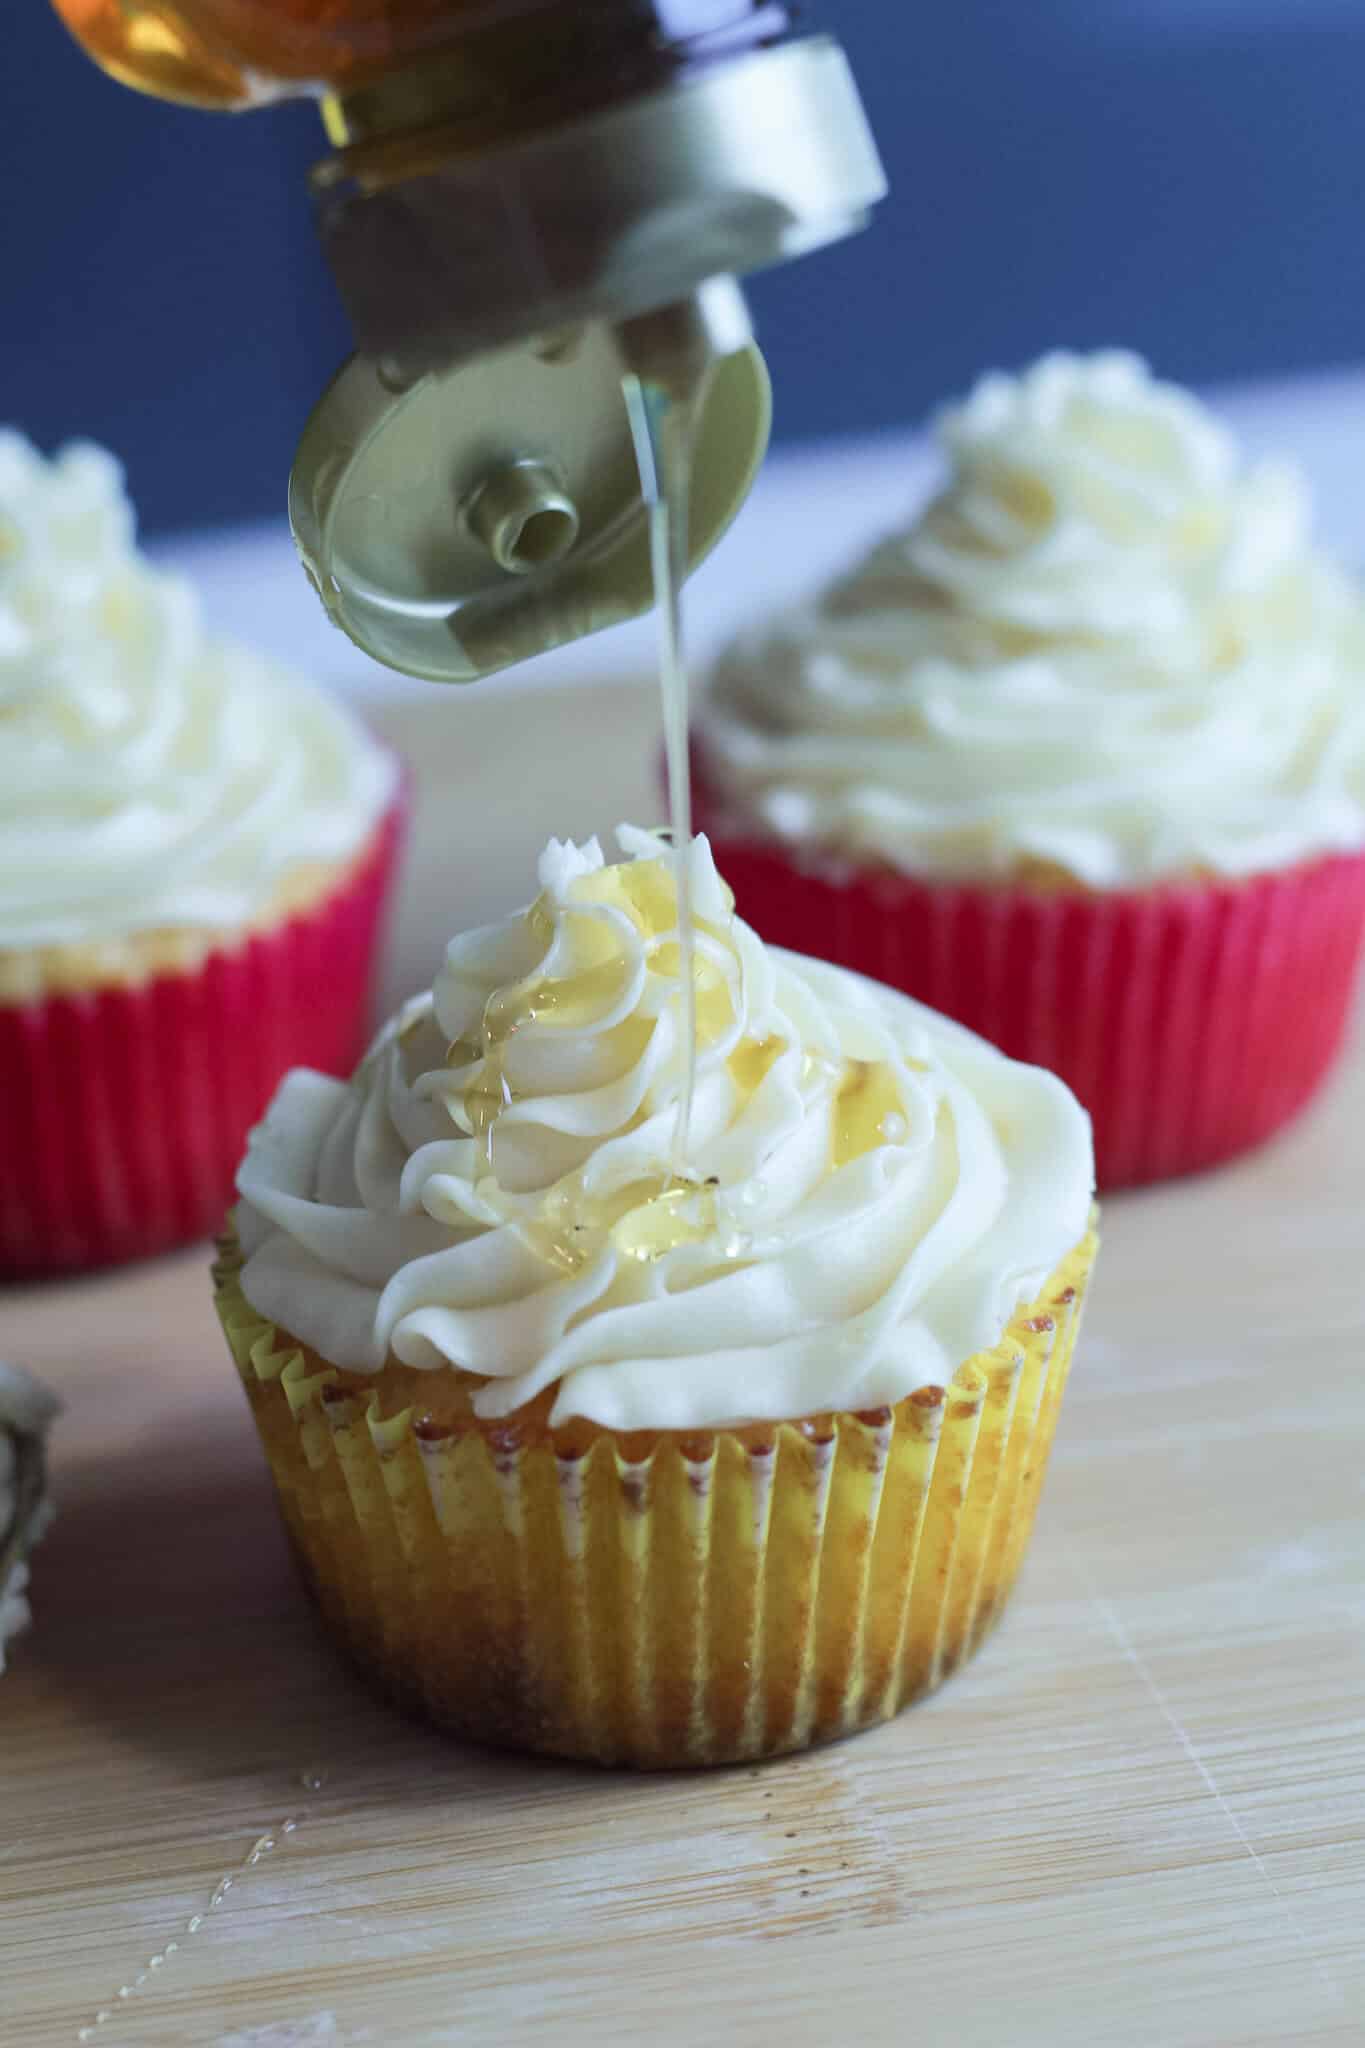
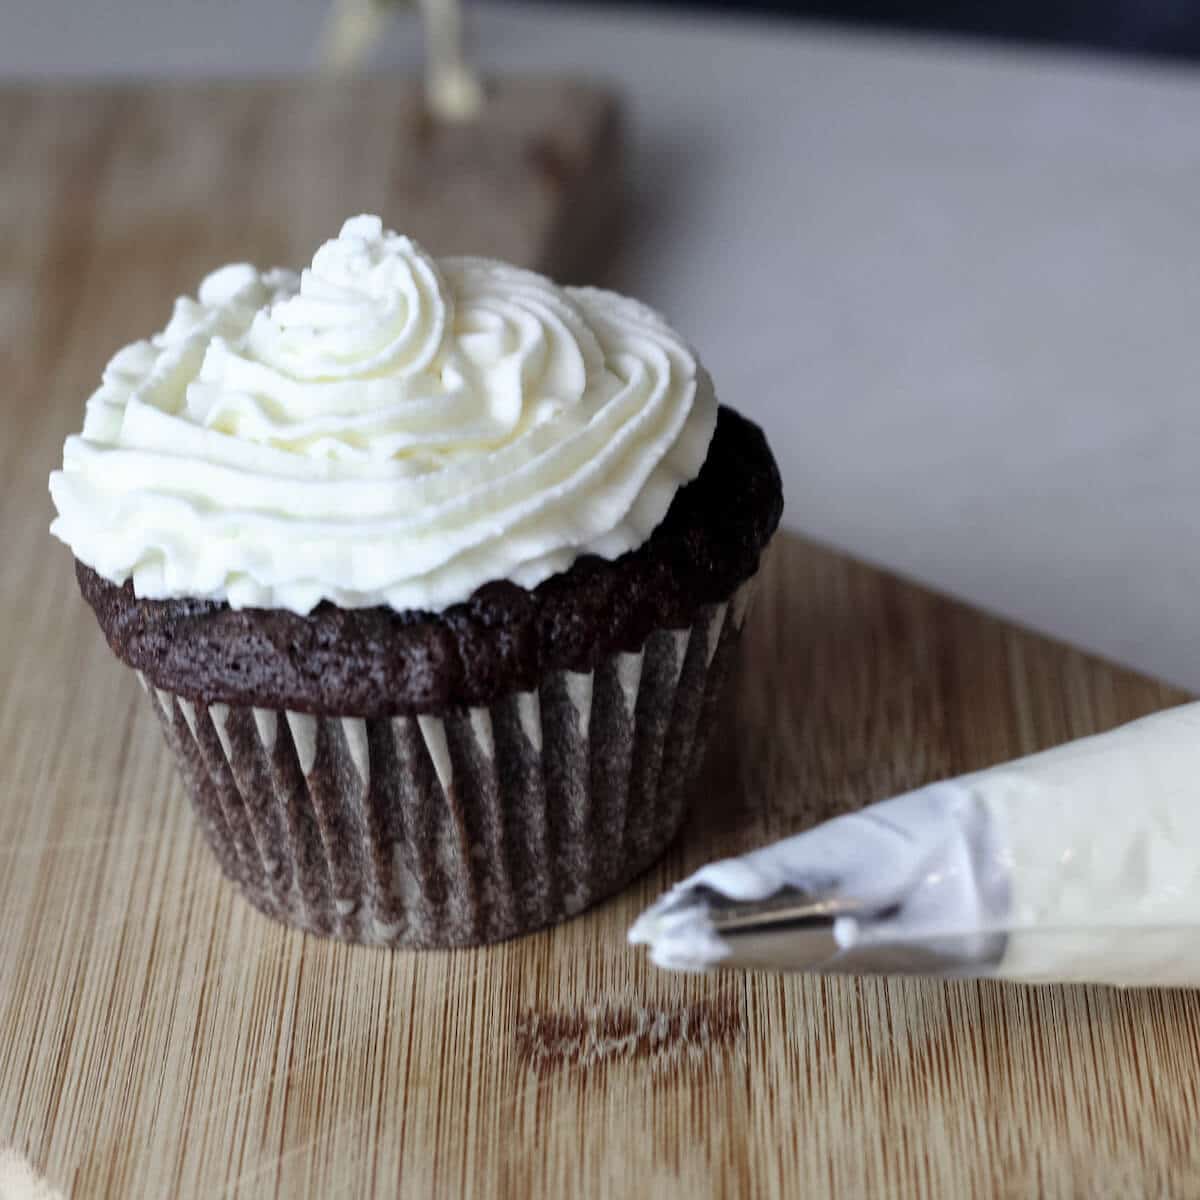
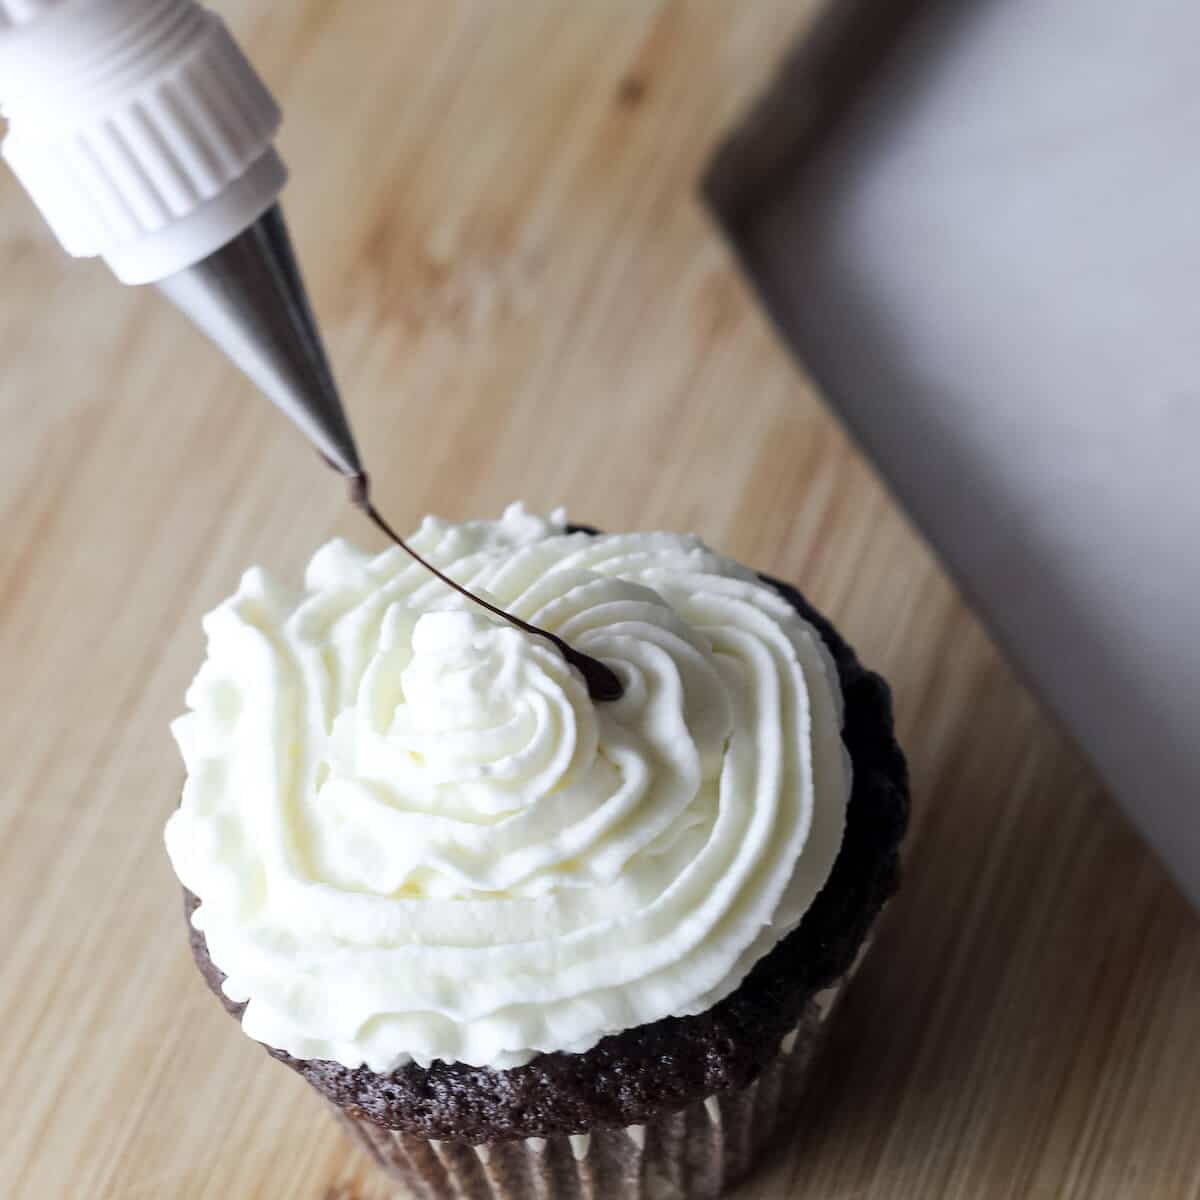
This frosting is much more stable than a typical whipped cream. You can use it for simple decorations like frosting swirls and basic stars. Once you pipe it, the frosting will stay put and won’t melt.
This frosting isn’t quite as good for intricate piped details like shells or flowers. For that, I would recommend a type of buttercream.
Be careful of using other colorful decorations with this frosting, because they might run. I was able to use colored sanding sugar and the colors didn’t run, but when I tried to add candy cane bits on top, the colors ran together!
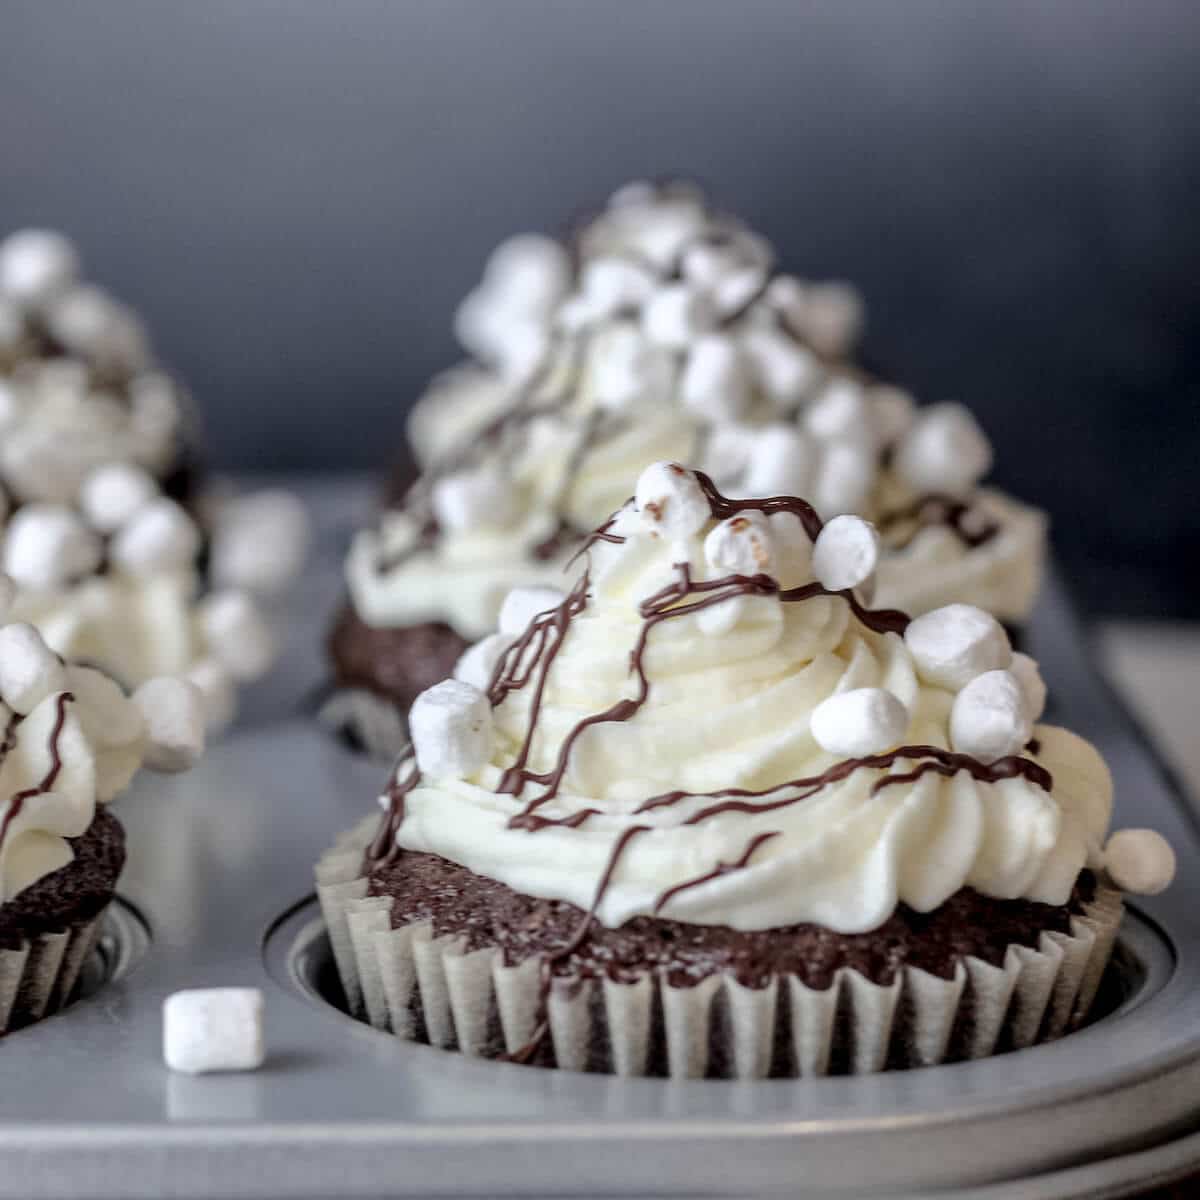
Flavorwise, marshmallow cream frosting is an obvious choice for s’mores inspired desserts (like those pictured below)! But really, you can easily swap in my marshmallow frosting anywhere you’d enjoy whipped cream.
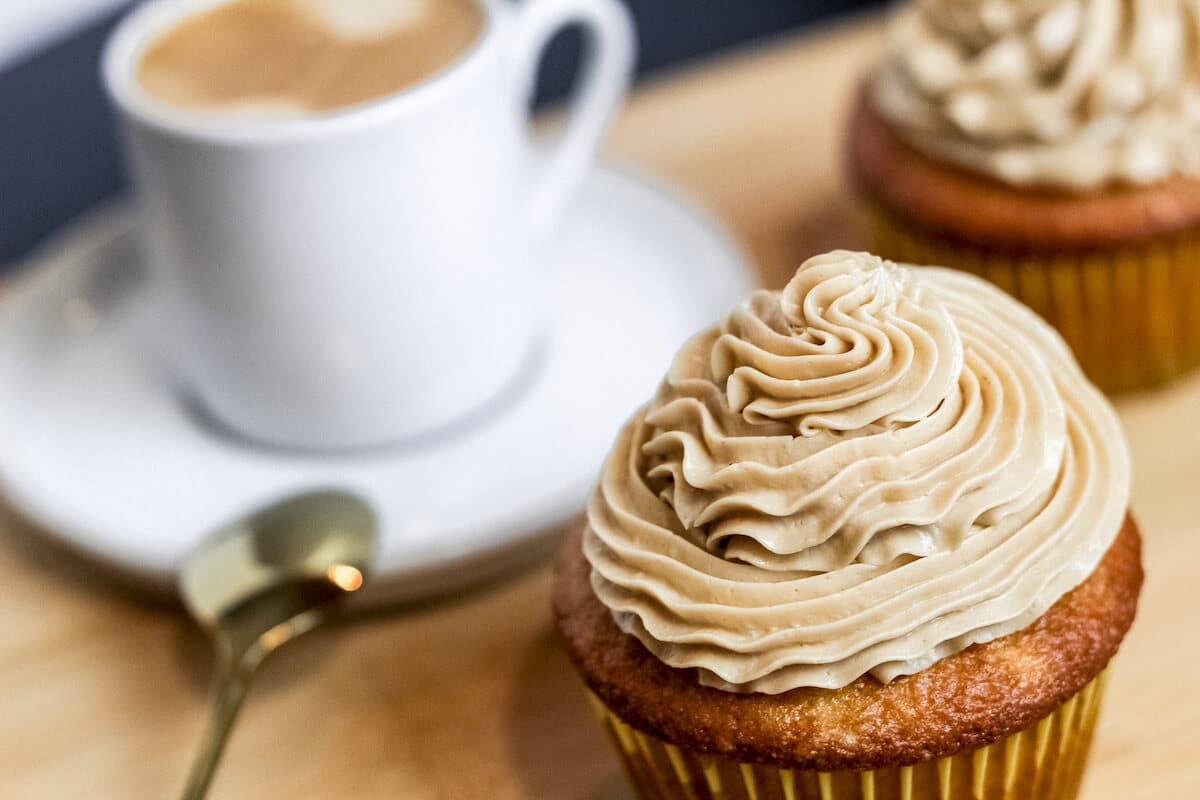
This frosting also takes on additional flavors really well. This is the base for two of my other favorite frosting recipes: candy cane frosting and espresso whipped cream frosting!
Some other flavor ideas you can add:
- Crushed up freeze-dried fruit like strawberries
- Any flavor extract like lemon or mint
- Sweet spices like cinnamon or cardamom
The Ultimate Marshmallow Frosting Recipe
Recipe

Marshmallow Whipped Cream Frosting
Equipment
- 1 stand mixer or handheld mixer
Ingredients
- 7 oz marshmallow fluff
- 2 cups heavy whipping cream
- ¼ teaspoon vanilla
- 1/16 teaspoon salt
Instructions
Prepare before starting:
- Chill the bowl and the whisk attachment for your mixer in the refrigerator for at least 30 minutes. Make sure the bowl is completely clean and dry, any remnants of oil will prevent the cream from whipping properly.
- Chill the whipped cream for at least 30 minutes (preferably longer).
- Make sure your marshmallow fluff is at room temperature.
Make the whipped cream frosting
- Place all ingredients in the chilled bowl and attach the chilled whisk attachment to your mixer.
- Whisk on high for 3-5 minutes until the whipped cream has reached the stiff peaks stage. You should be able to scoop up a spoonful of the whipped cream and hold it up without the whipped cream folding over or running down.
Serve
- Use the whipped cream to top cupcakes or other desserts. This whipped cream is stable and can pipe simple shapes like stars or shells. I do not recommend this whipped cream frosting for intricate piping like flowers.
Notes
- This recipe makes about 4 cups of frosting. One serving is approximately ¼ cup.
- While this recipe only takes about 5 minutes, plan to chill your tools and ingredients for at least 30 minutes before starting.
Leave a Reply